If you’re looking to add some serious style and futuristic vibes to your Onewheel, EUC or electric skateboard night sessions, then you got to get yourself some underglow lights. It’s all about customizing your ride and making it uniquely yours, right? Say hello to Shredlights SL-FX+.
Not only will you be turning heads left and right, but you’ll also be ensuring your safety by being super visible to everyone around you. These lights are designed specifically for Onewheels and electric skateboards. So simple to use just connect to the ShredLights app to unleash over 10000 combinations of colors and light modes.
SL-FX+ Specs
| Dimensions | 3″ x 1″ x 0.5″ / (84cm x 23mm x 30 mm) |
| Colors | blue, purple, white, red, orange, yellow, green, cyan |
| Modes | solid, fade, pulse, circle |
| Activation | App or Motion |
| Weight | 42 grams (1.5 oz) |
| Battery Size | 700 mAh |
| Battery Life | 3hrs |
| Charge Time | 2 hour charge via USB-C |
| Water Resistance | IPX7 |
| LEDs | 14 per light |
| Standby Life | 6 months |
| Compatibility | iOS (Android compatibility to be announced) |
SL-FX+ Light Modes
The SLFX+ has essentially 4 different modes:
- solid color
- fade
- strobe
- circle
Solid color stays in one of the 8 color options whereas the ‘Fade’ option will gradually fade into the next color as it cycles through the 8 color options. The ‘Strobe’ effect changes between colors every 1 second whereas the ‘Circle’ effect changes between colors by rotating in a circle (cycling between the 7 LED’s within the 2 circles in the unit).
Within the app you can select the colors you want to cycle through so you do not necessarily have to go through all the colors.
SL-FX+ Lighting Material
The light itself is a thick translucent plastic material that houses the lighting module and powers 14 ridiculously bright LED’s. The design essentially is made where the case acts as the light diffuser for the LEDs. The USB-C port is protected with a rubber cover that provides for a IPX7 rating.
My only real gripe with the lights is that the S-lock mount is plastic. If you are a trail rider, and you do mount these on the underside of the bumpers, the plastic mounts may not survive! You can always slide the light out of the mount but I would have liked to have seen a metal base. A safer mounting spot would be on the axle base.
Color Coded Battery Status
You can always use the app for the battery levels however Shredlights makes it easy to read the battery levels of the unit without the app. When charging, the light will remain either green, orange or red.
| Color When Charging | Battery Level |
|---|---|
| Green | > 75% Battery Life |
| Orange | 25% to 75% Battery Life |
| Red | < 25% Battery Life |
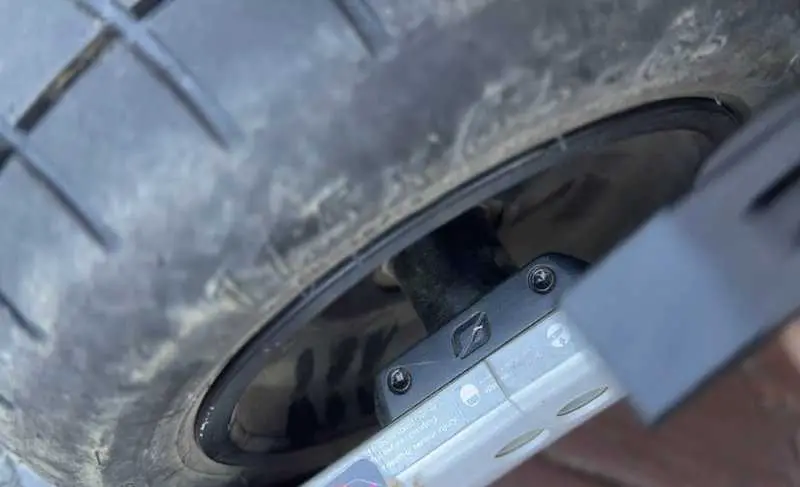
Mounting Shredlights SL-FX+ on a Onewheel
Regardless of model, there’s essentially two places to mount the SL-FX+ lights. First and probably the safest is over the base of the axle. If you use rail guards, the light will not sit flush along the axle base. You can either modify the rail covers, take them off or deal with the slight angle. You also need to be mindful of the tire stem clearance. I have my s-lock mounts situated where the open side faces the nose of the board. I don’t think they will ever slip out of the mount, but I recommend having the open side face forward.

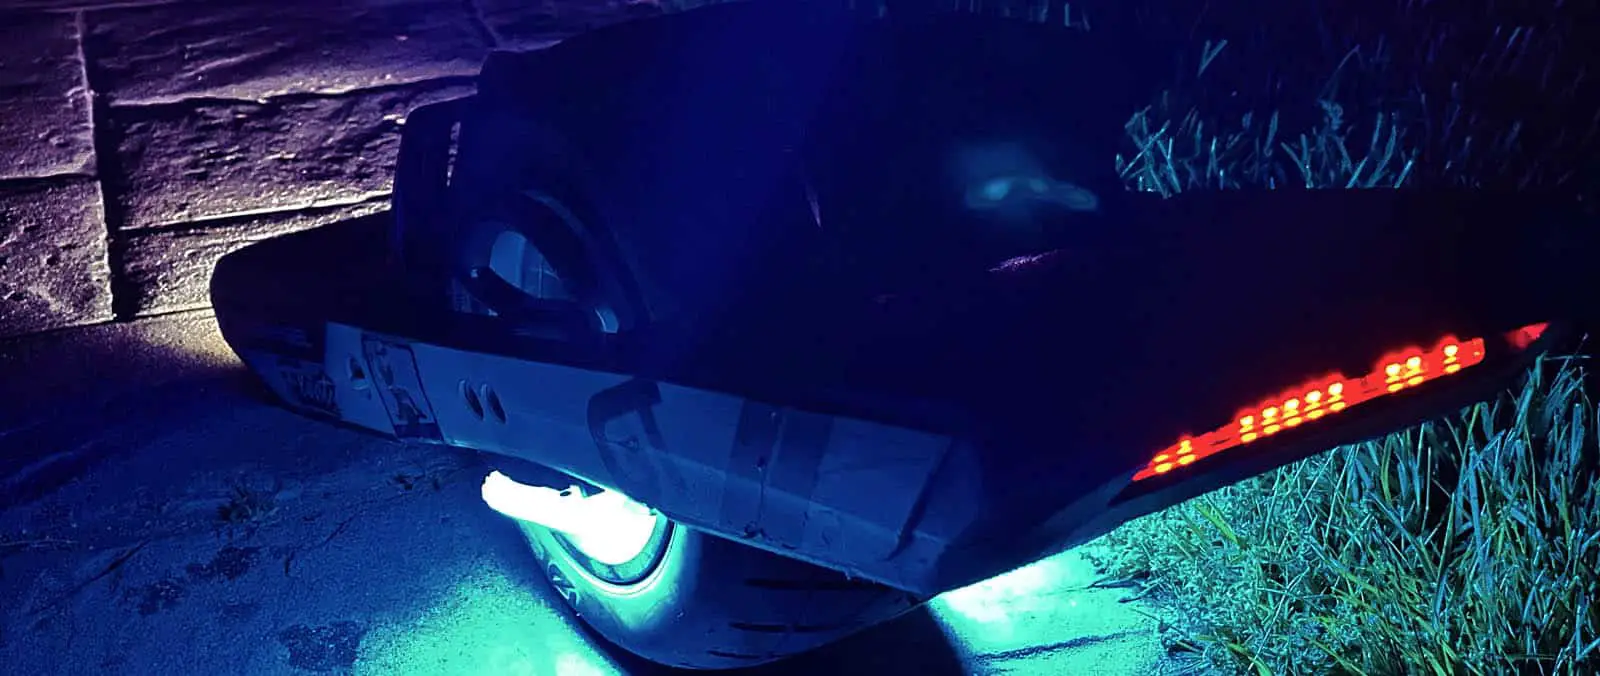
Another location is to mount the s-lock mounts closer to the wheel on the front and rear bumper. For this you do need to make sure that if you drag tail that the light will clear the ground. I do think, the lighting is better with this placement.
Pairing Shredlights
The perk of these lights honestly is the grouping of multiple lights. The anatomy of a Onewheel opposed to a typical skateboard or e-skateboard is clearly makes it more challenging to light up the underside of our boards due to the large wheel in the center. Grouping lights however offers coverage that is ideal for Onewheels and EUC’s. With one button you can control full groups of Shredlights. You can pair the lights easier with the app but it can be done without the app as well.
While the SL-FX+ are compatible with iOS and have a great app for user control, they are able to be utilized without a smartphone. The SL-FX+ can cycle through 8 color modes and 3 color changing modes. Heres how to pair up SL-FX+ lights without the app:
Time needed: 1 minute
How to pair SL-FX+ without the app
- Enable Pairing Mode
Press and hold the top button for 5 seconds (light will flash at 10% brightness when pairing mode is enabled).
- Pair 2 Light to Create a Group
Make sure light #1 is in pairing mode then press and the top button on light 2 for 1 second. Both lights will turn on to indicate successful pairing. (lights 1 & 2 can now be controlled together as Group 1
- Add More Lights to a Group
Enable pairing mode on the additional light. Press the top button on any light in the connected group for 1 second (all lights will turn on indicating the added light is paired to the group).
Removing a light from the group is easy to do without the app as well:
- Enable pairing mode on the light you want to remove
- Press and hold the side button of a different light in the group to turn the whole group off and remove the light in pairing mode.
When the lights are paired and within a group, when one senses motion, they all fire on which is great. You do not necessarily need motion activation on however.
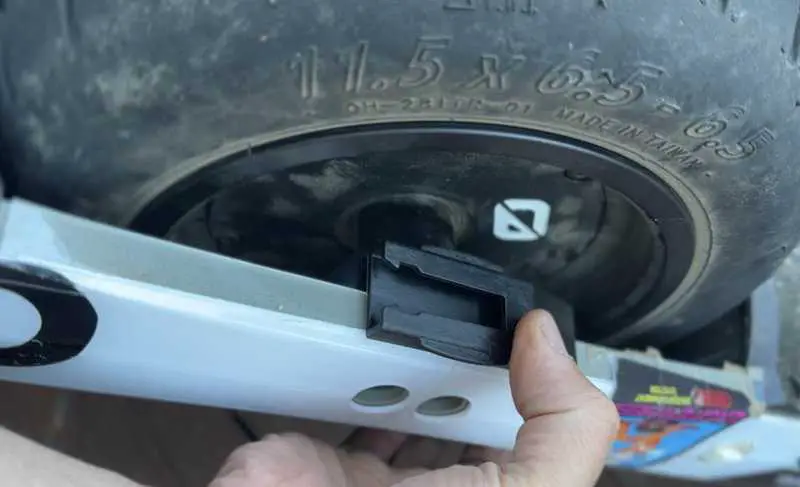
S-Lock Mounting Platform Compatibility
SL-FX+ comes with an S-Lock mount. These lights are compatible with all S-lock mounts made for Shredlights. Simply slide the bottom of the light into any S-Lock mount until the clip clicks into places. Always confirm you hear a click before riding! To remove the light from the mount, you simply just press down on the front lever to disengage the S-Lock. After its pressed in, simply slide the light out.
One Year Warranty From Shredlights
Shredlights include a 1 year warranty covering manufacturing defects, failures with the S-Lock mount, and electronic failures such as inability to charge or operate properly. For any issues with Shredlights, visit their warranty page.
No App Required to Stay Lit
While the SL-FX+ are compatible with iOS and have a great app for user control, they are able to be utilized without a smartphone. The SL-FX+ can cycle through 8 color modes and 3 color changing modes. This can be done without the app by holding the top button for 5 seconds to enable pairing mode.
So, my skater friend, don’t miss out on the chance to elevate your night rides to epic levels. Get yourself some Shredlights SL-FX+ underglow lights, and let the world know that you’re a true shredder who doesn’t settle for ordinary. It’s time to light up the streets and show off your unique style while keeping it safe and rad. Stay lit, my dude!
Review
I do appreciate riders customizing their Onewheel or EUC. LED’s are just (in my opinion) the way to go. We float around and already feel futuristic like on these devices. Adding LED’s to the mix just elevates the futuristic feel.
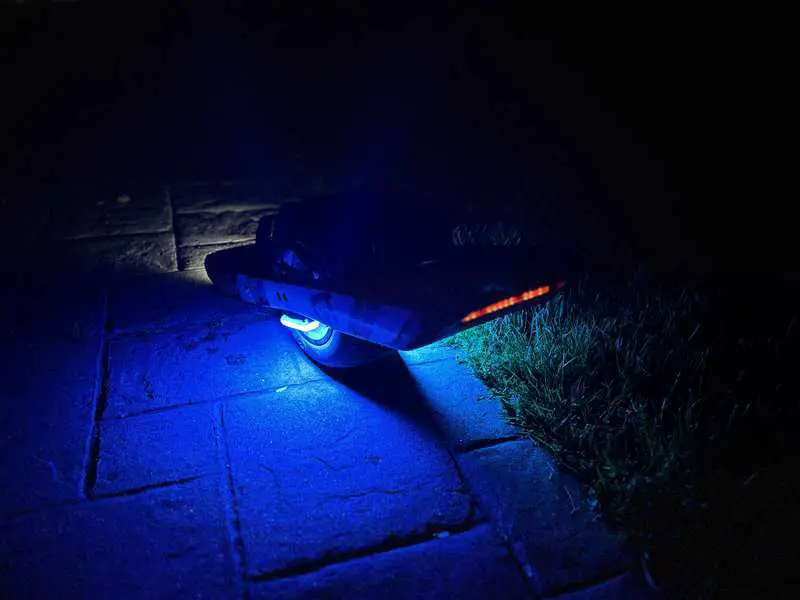
I do think it would be better if the mounts were metal however the s-lock mount has a very satisfying click to lock in the light. Mounting them like I did in this photo near the axle is the most secure location.
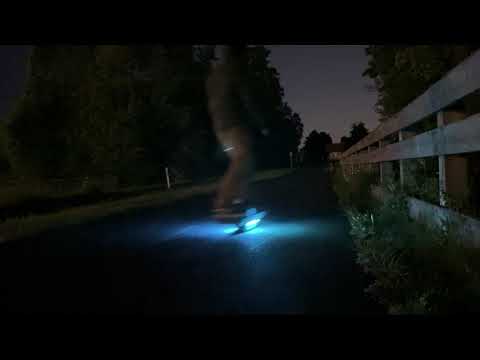
In the video towards the end, I show them mounted under the bumpers. Personally, I think the lighting spreads better under the bumper however I just don’t feel as comfortable with them there.
In the video I rode a bit without headlights. Don’t do that. These are not bright enough to see ahead of you as you ride. I just wanted to focus on the SLFX lights. I think riding without headlights could be ok in a dusk or dawn timeframe however headlights are still needed.
Having the headlights on actually doesn’t drown out the LEDs from the SLFX units. They still put a nice glow under the ride. They are pricier than generic Amazon LED strings however, the product works well.
The main benefits are the brightness, the grouping/pairing ability and the auto on and off feature. I’m taking these off on trail rides but slapping them on when I hit up the night rides.
Troubleshooting
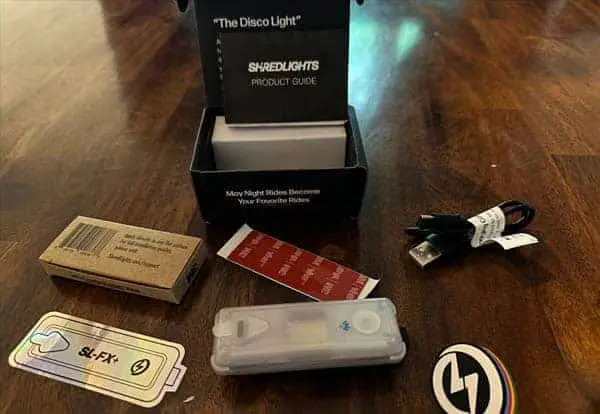
My SL-FX+ light was fully charged but would not turn on. I was able to charge the light until the red light turned green however it would not turn on. I contacted support and within 24 hours I had a fix!
To fix this issue, you need to use the original cable that came with the light. It comes with a note attached to it. This specific cable helps to reset the light when it dies and cannot turn on. Once charged, you need to keep holding the button for about 10+ seconds a few times. This worked for me and I was able to get the light back up and running! Their support rocks.
Onewheel lights
The Varials for the XR had a relatively short shelf life. In March of 2022, they made their debut in the Onewheel scene with an amazing theatrical commercial featuring Bodhi Harrison and Jeff...
Aftermarket foot pads improve control and ride comfort. When it comes to customizing your Onewheel, changing out the foot pads can do the trick. Its a simple modification that can be completed within...