One thing about the Onewheel is that it really needs a stand to be secured in your home. Future Motion charges nearly $100 for their Deep Shack Rack for Onewheel. In about 30 minutes, you can make a decent looking stand for about $15 in PCV parts and maybe some wiring or roping for decoration. Here is what you will need for the build:
- 1 – 10 foot section of 3/4″ PCV
- 8 – 3/4″ PVC elbow joints
- 4 – 3/4″ PVC Tee fitting connector
- PVC Glue
- Optional – Old computer wiring
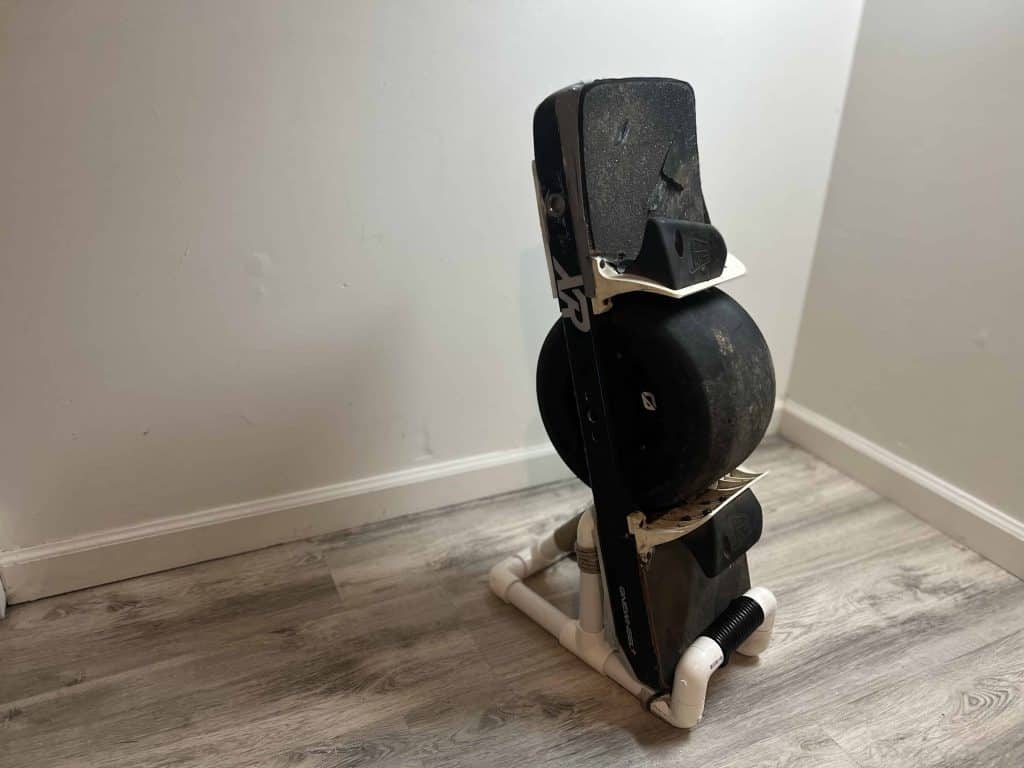
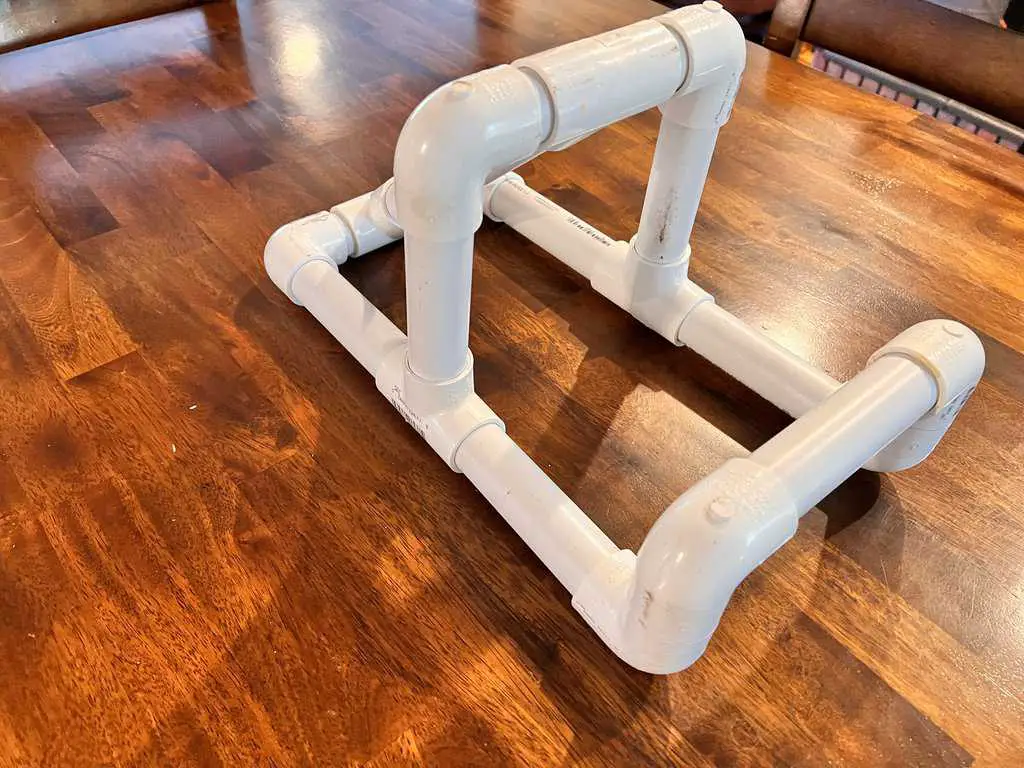
After seeing a couple PVC stands, I decided to build a couple for myself. They do the trick. They can even look better with some rubberized paint on them. Perhaps I will show that in another post. These are really quick to churn out and they really come out looking pretty decent for the money spent.
Time needed: 30 minutes
Onewheel 3/4″ PVC Stand
- Cutting the parts up to size.
Cut the 10′ 3/4″ section into the following sections:
– 1 piece cut at 9.5″
– 2 pieces cut at 6″
– 3 pieces cut at 5.5″
– 2 pieces cut at 5″
– 4 pieces cut at 2″
– 2 pieces cut at 1.5″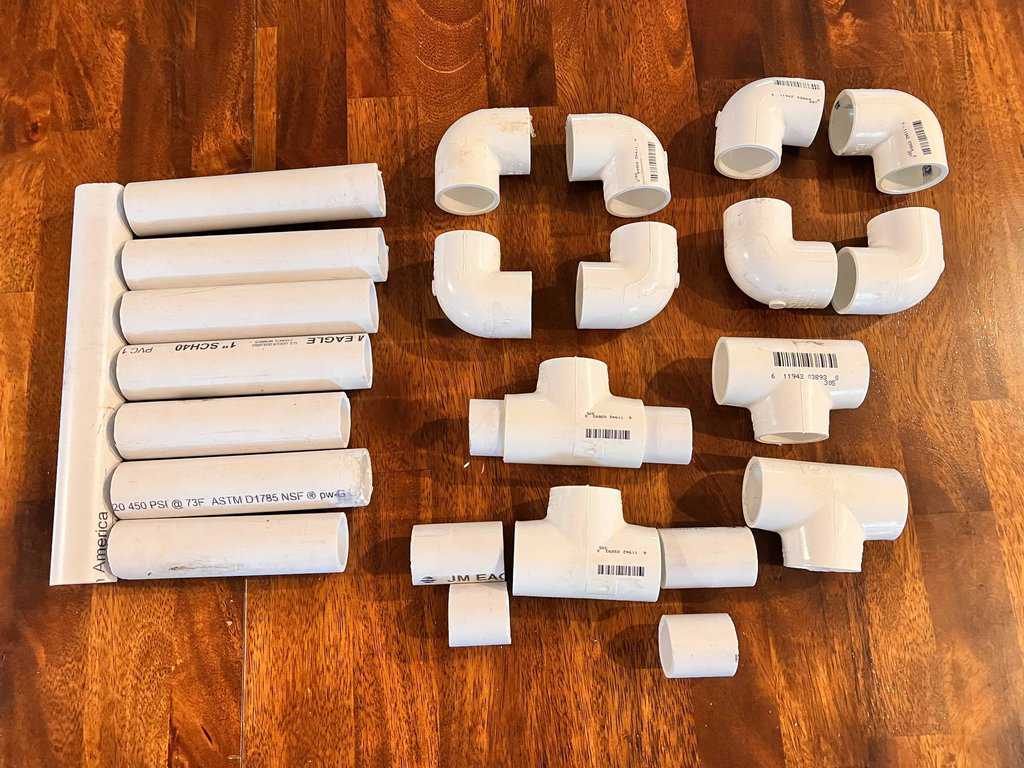
- Building the front of the stand
Take the a 5.5″ piece and add two elbows to it. Make sure the elbows point in the same direction. (We will glue it all after we dry fit it the entire build)
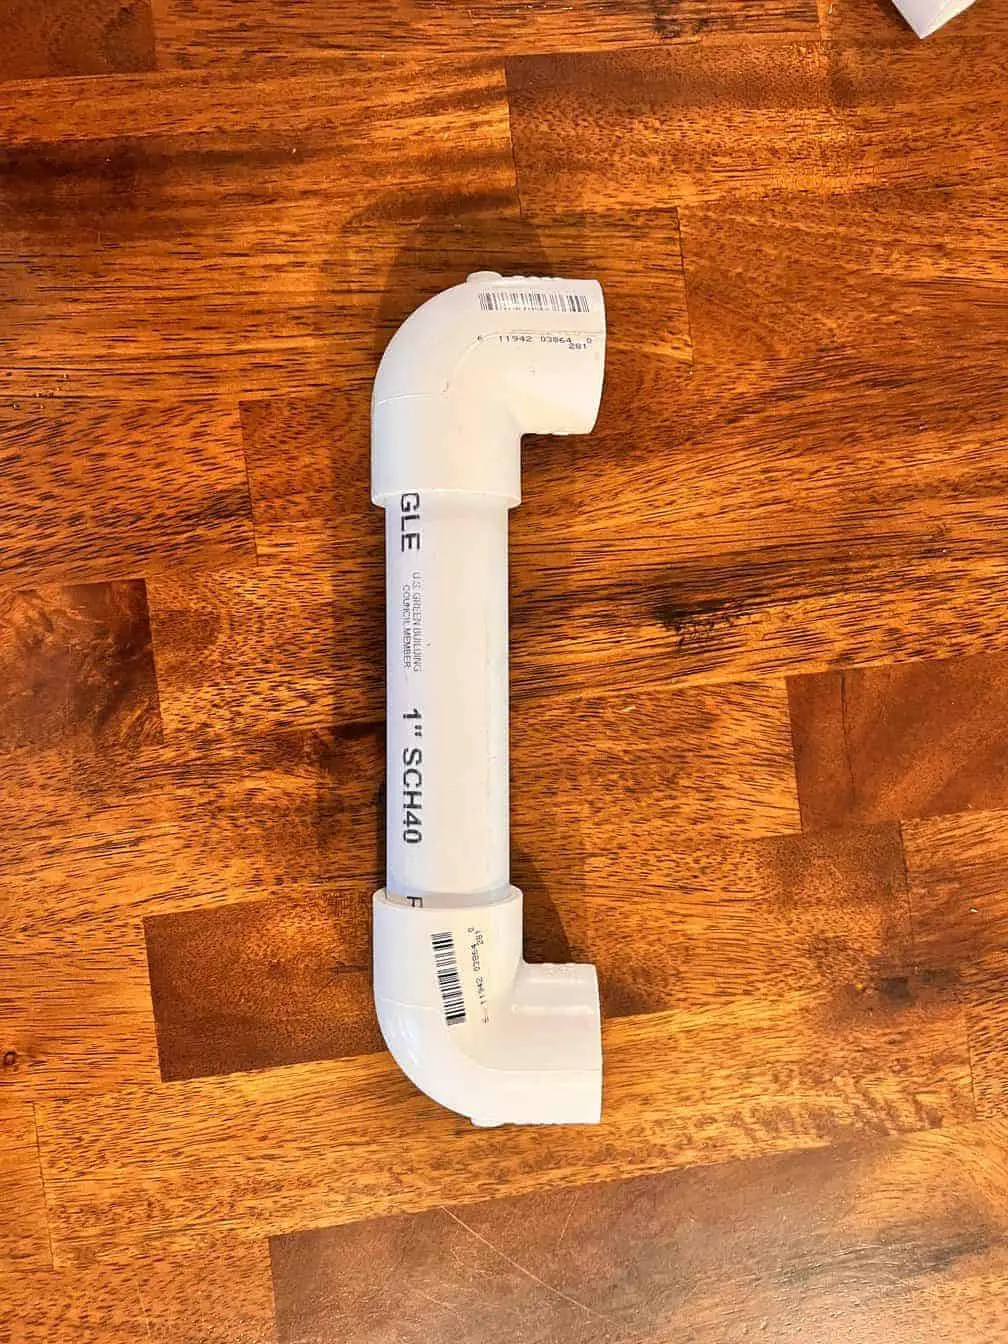
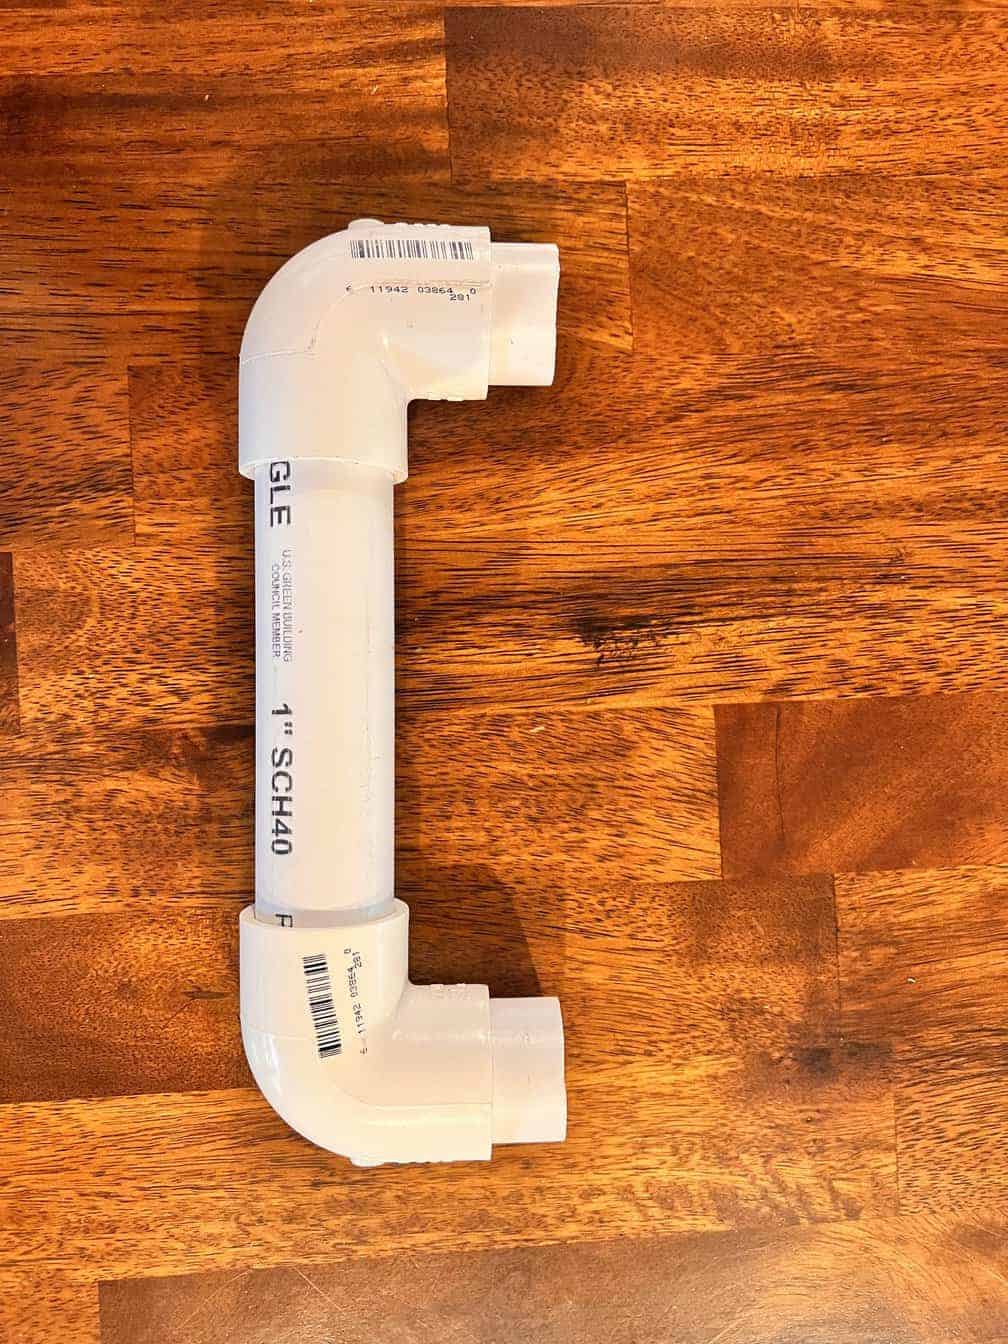
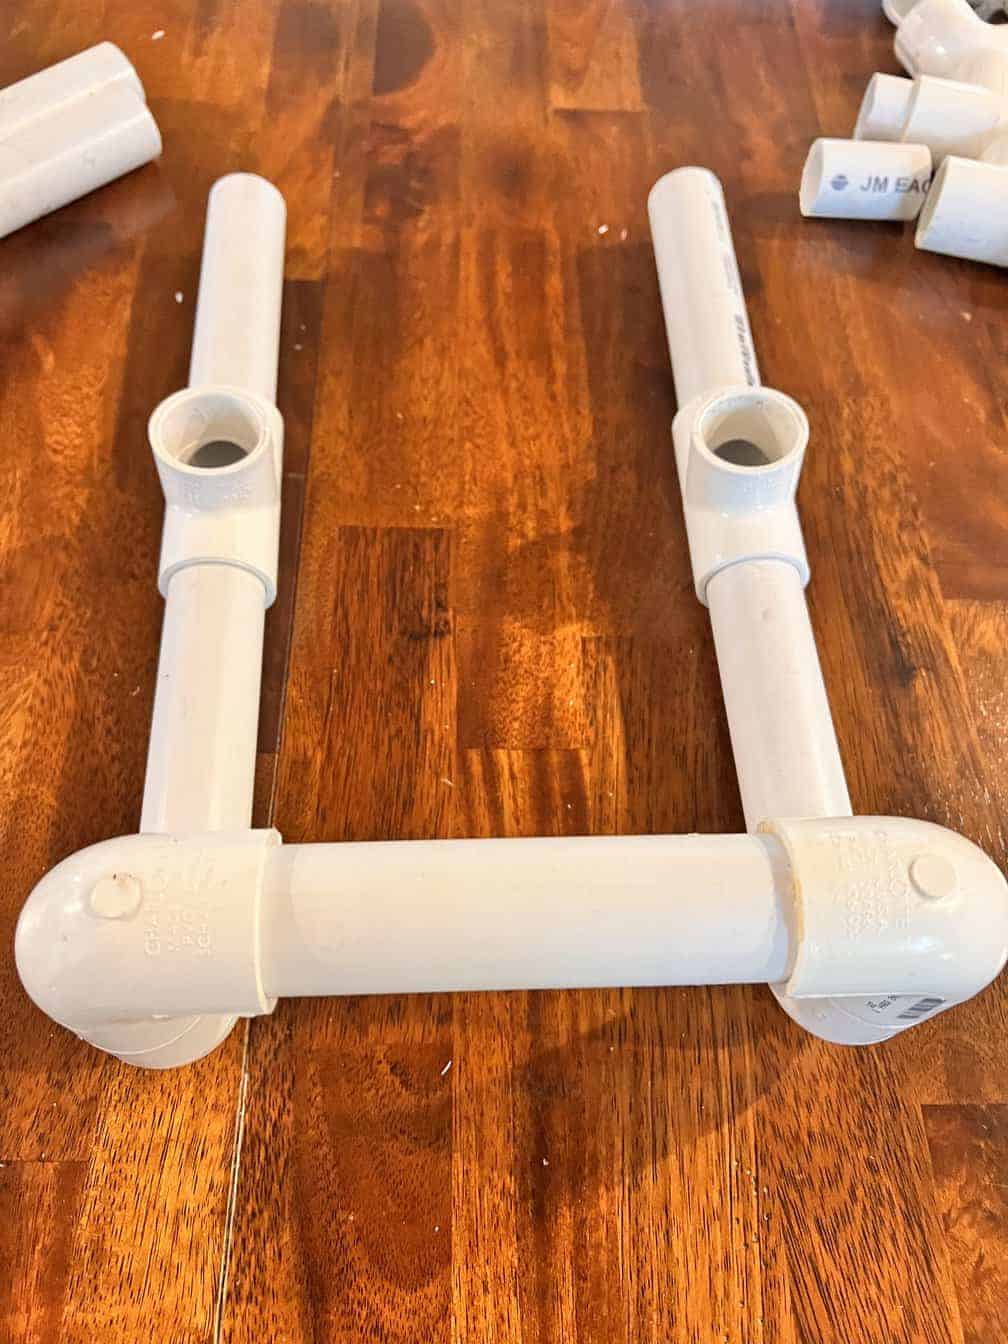
- Building the front base portion of the stand
Stuff two 1.5″ pieces into the elbows and connect another set of 3/4″ elbows onto the 1.5″ pieces that face upwards

- Base build of the stand
Take two 5″ pieces and put them into the open elbows. Place two tees on the other end of the 5″ sections. Make sure the open ends are facing upwards as seen in the image below.
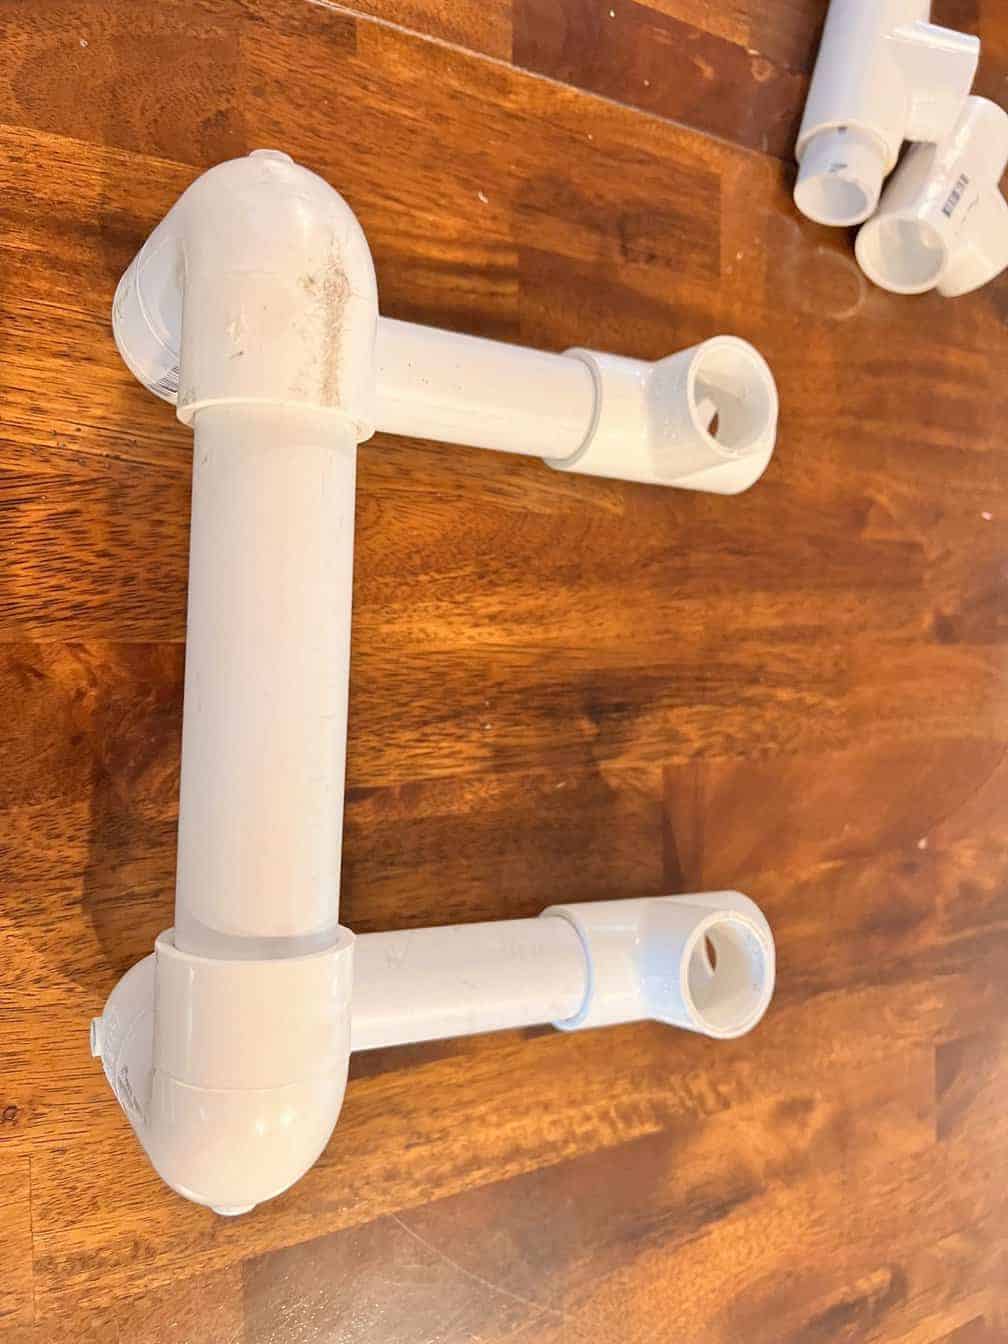
- Completing the base of the stand
Add two 5.5″ pieces into the ends of the stand that run parallel with the other 5″ pieces.
- Building up the back of the base
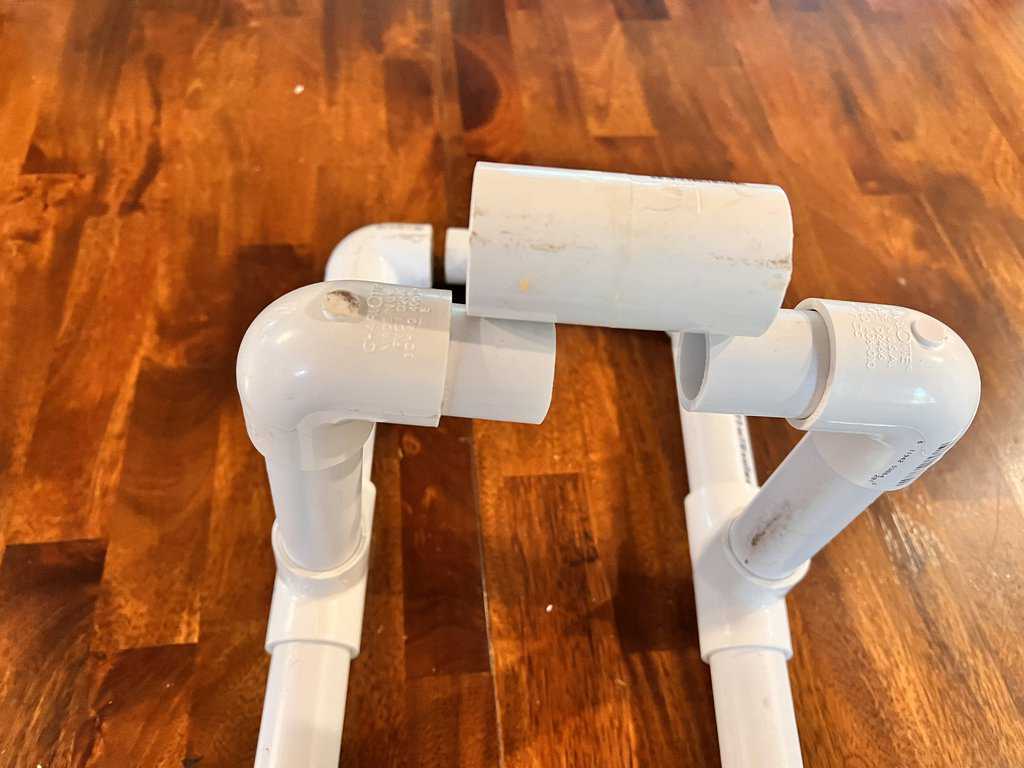
Take one Tee and place 1.5″ sections into both ends. Then add two elbows onto both ends. Make sure the open end of the Tee faces upwards (should be at an angle towards the center of the stand).
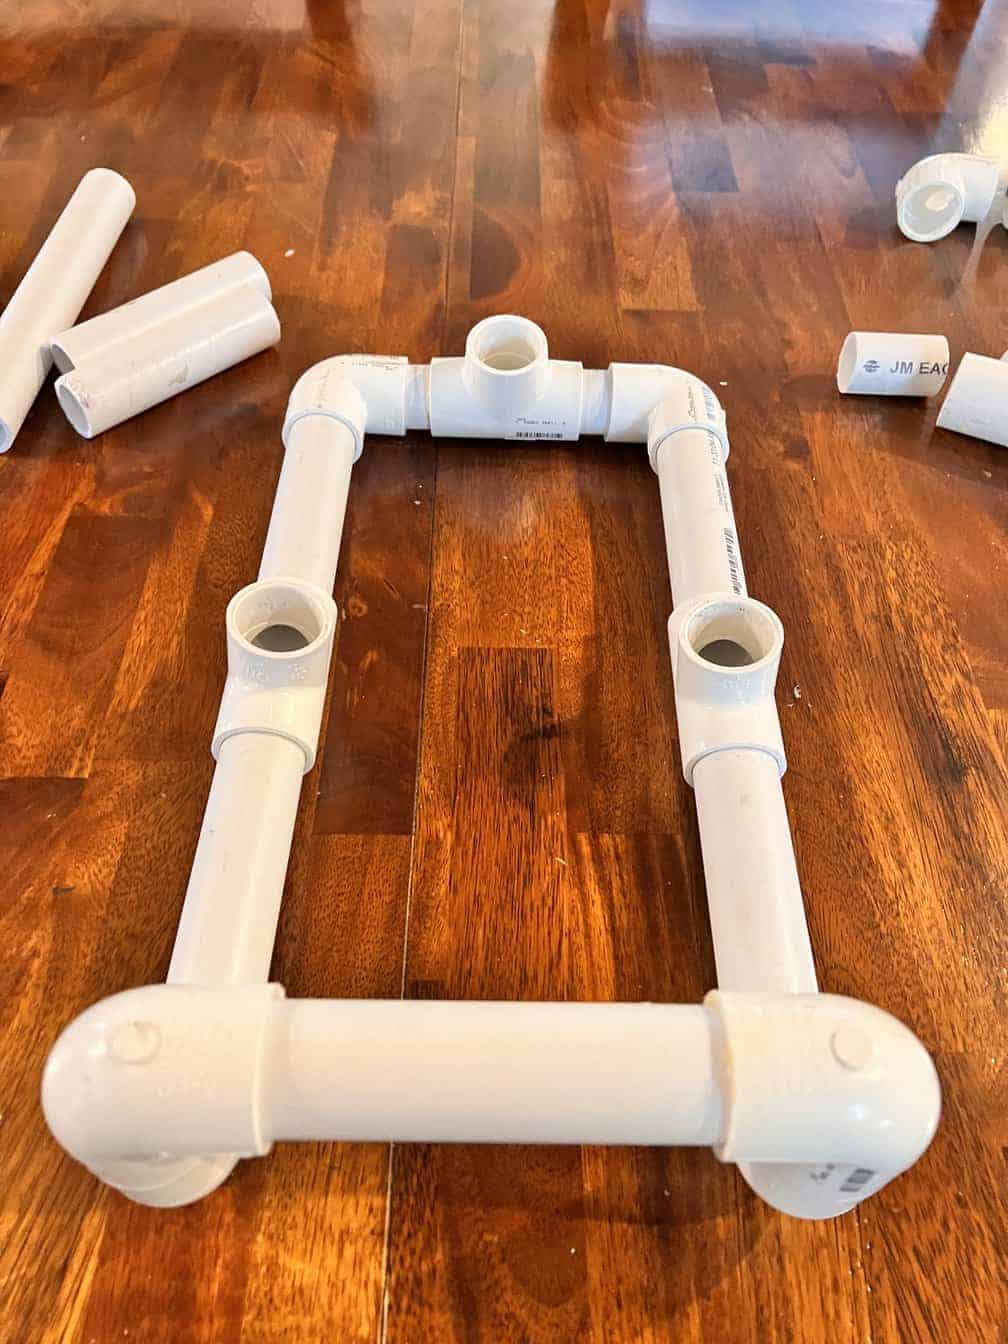
- Building up the board’s rest area
Take two 6″ pieces and place them into the two middle Tee sections. Place the one 9.5″ section in the rear Tee.
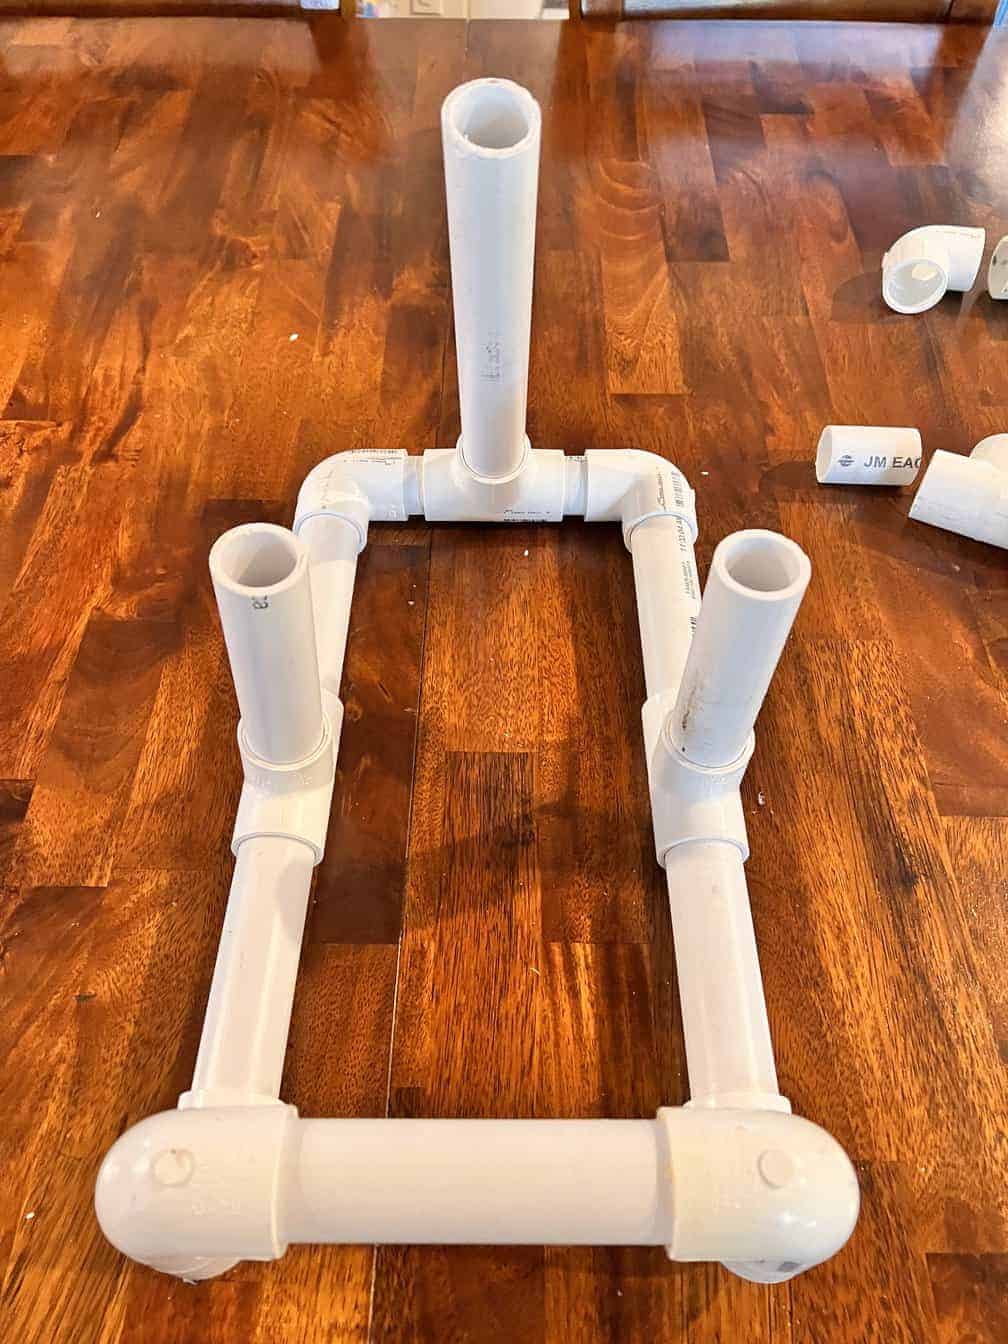
- Completing the board rest
Place two 1.5″ PVC pieces into the top elbows and place a Tee on top of the 9″ piece. Find where they can connect and secure them into place
- Completing the Onewheel Stand – Gluing
Once the stand is complete, detach all the joints and apply a little PVC glue.
- Optional wire wrapping.
Use some old networking wiring or scrap cords and wrap and glue it around the front of the stand. This will help keep the board in place (grip tape will bite into the wiring).
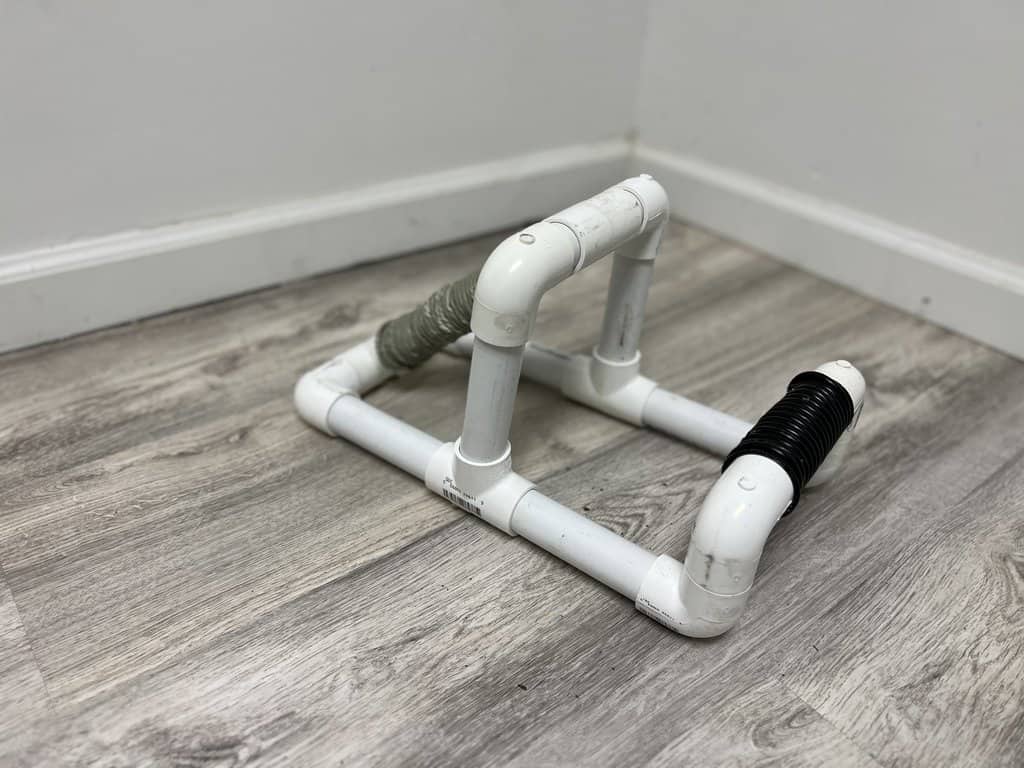
I decided to wrap the back portion of the stand with telephone wiring. At the time, I was removing telephone wiring from my house. Who has telephone wire these days? Anyway, I thought it would look somewhat decent as an accent to my stand. Rather than throwing the wiring out, I think it came out ok. I wish I had painted it prior to wrapping it. Anyhow, I will show this in another post.
You don’t have to be so intense with the measurements. PVC has a little give and the fittings shroud a lot of the cuts. Don’t let that Onewheel lay around the floor. If you got 30 minutes of time, you can make her a little home,
More Hacks and Tricks...
Onewheels are great but definitely a bit awkward to carry around. The Onewheel GT and XR models come with a front handle built into the front bumper. You can pay extra for a mag handle. Pint models...
Onewheels find their level after powering the board on. Unless you are riding in the Elevated digital shaping mode, there wasn't a way to modify the software's tilt or level value of the board until...