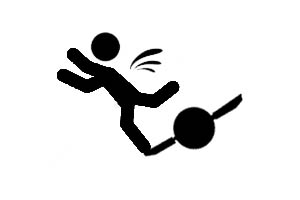
Some sage advice from Alfred in the Dark Knight series. “Why do we fall?” It’s so we can get back up and keep floating! If you ride a Onewheel then it is a statistical likelihood that you will inevitably fall (if you haven’t done so already)! The aim of this post is to learn how to fall properly in attempts to minimize damage or pain so we can continue to enjoy the stoke.
Step 1: Wear Appropriate Safety Gear
Full disclosure, depending on the situation, there may be no safe way to fall. We should always have an exit strategy however if you don’t have one, you need to be prepared. Before you even step onto your Onewheel, it’s important to wear the right safety gear. A helmet is a must, as is wrist guards and gloves. By wearing these items, you can protect your head and wrists from serious injury which take most of the hits.
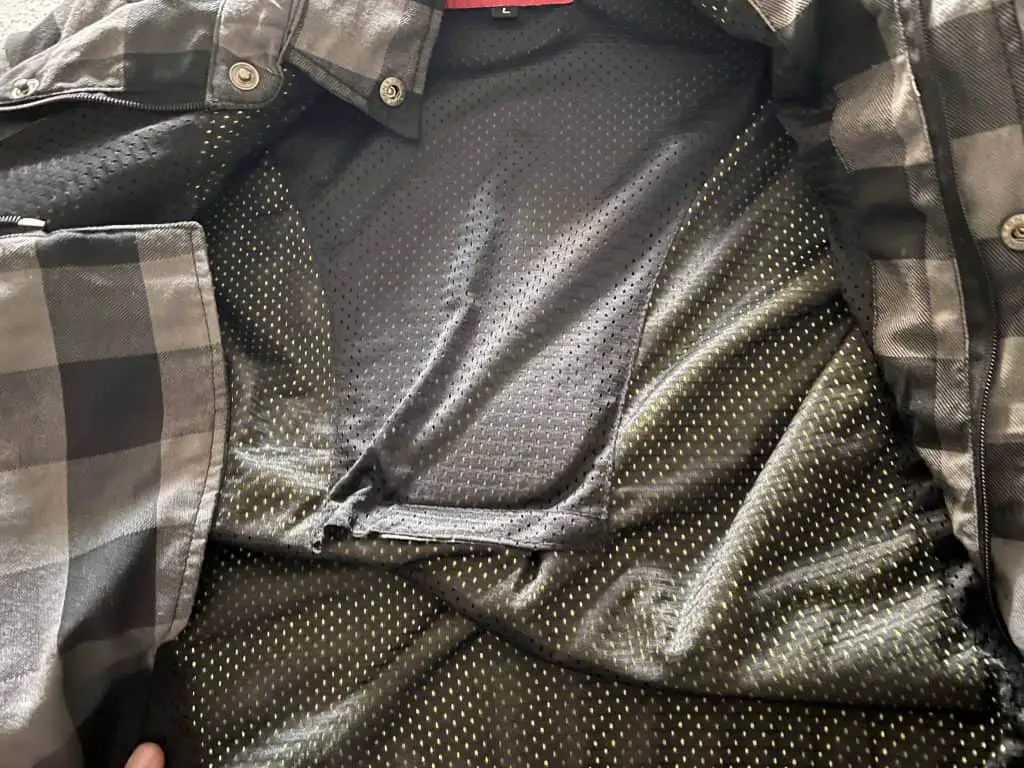
Surprising however, more common fractures are in the collarbone. You can wear an armored flannel that has built in shoulder, elbow and back pads.
I have fallen many times and wearing an Armored flannel has made me feel just more comfortable with pushing limits. These are Kevlar lined and surprisingly lightweight and rugged. If you don’t by a TFL T.A.C. Flannel, go with a generic on eBay. They are half the price and the same material!
Bottom line is you should gear up anticipating the fall. Think of the saying “ride for the thrill, but gear up for the spill.” You want to be able to get back up and ready to ride again. Kevlar lined flannels are great for saving your shoulders, collar bone, elbows and skin. Buy one and thank yourself after a fall.
Step 2: Foot Placement Should Be Angled
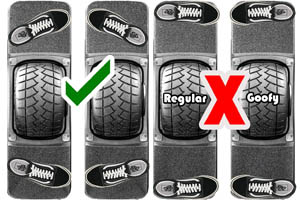
If you ride with a completely perpendicular stance, then you have limited control of the diagonal tension of the board which helps stabilize the wheel. Stabilizing the wheel will save your butt from a fall so make sure to have the feet angled so that your toes point to the corner of the foot pad.
It’s not as important to do this on the trailing foot however on the leading foot it is crucial. It is especially important for bailing.
When you have to bail, with your foot at an angle, it is at a more natural placement for you to start running in the direction you intend to bail towards.
We “run out the fall” which means we run to lessen the momentum that is transferred to your body from your board as you bail. The goal is to continue to run and slow down until your momentum reaches zero. Foot placement is everything.
Step 3: Attempt to Slow Down
If you ever feel like you’re going too fast or that you are losing control, try to slow down. Lean back and slow down if you can. This might be difficult or even impossible if you’re going fast or caught off guard, but it’s important to try. Also remember that the Onewheel isn’t really made for speeding. It has a limit and breaching that limit drastically increases your chance of falling due to a nose dive.
The one wheel is not built for speed. If you want to go fast, you should likely consider an electric-skateboard or an EUC. Many e-skateboards can push the speed limits a little further. EUC’s have such a large tire and motor that they naturally do better at speeds that a Onewheel can’t even achieve.
Step 4: Jump Away from the Board in Stride or in Roll
If you feel like you’re going to fall, try to jump away from the board in a stride meaning one leg ahead of the other. The goal is to land planted on one foot. This will prep for the next step. If you fall in a manner that doesn’t allow you to land on a foot then prepare to roll. Tucking your chin towards your chest and attempt to be as round as possible.
We obviously aren’t that round and we can’t always land on a foot however if at all possible, either one should really be achieved. No one wants to belly flop the pavement! Be as round as possible or try to land on your feet.
Jumping away from the board is also helpful because you don’t want a 30 to 40 lbs projectile to smack you after you fall. That is just double the pain.
Step 4: Soften the Blow – Run or Roll
If you are able to land on a foot, start running and bring yourself to a slower speed safely until you stop. If you roll, use your arms to soften the impact on the ground. Just like the way our knees act like shock absorbers when riding. When falling, our arms should be used in similar fashion to soften the impact (obviously they will take some impact, but the only way to avoid broken bones is to soften by giving resistance to the fall).
We need to make sure that if we roll or run that the board is cleared from us. No one wants their Onewheel to go flying into them after a fall. Usually when you run away from the board this isn’t the issue. The danger is on a roll. Cover your face if you can. I know these are all split second decisions however falling is truly an art. It’s a skill to be honest. This is especially important on a group ride. Ideally, we want to fall out or fall-out of the way so that the next rider doesn’t crash into us and create a domino effect.
If you stay rigid, you will fall like a Redwood. The earth with shake and you likely will feel the fall in your bones. You need to be agile.
Step 5: Evaluate Any Injuries (If Any)
After you fall, you might see stars. We all want to get back up as soon as possible and brush it off but don’t minimize a serious fall. It’s generally a good idea to take a moment to assess any injuries before getting back up. If you feel okay and there are no visible injuries, just can take a moment to collect yourself and make sure you’re not disoriented or dizzy.
If you have no visible injury and the dizziness or disorientation is gone, you can then decide whether it’s safe to continue riding or if it’s better to take a break. There’s nothing wrong with finding a spot on the side of the trail and taking some time to recuperate.
If you have some cuts or bruises, decide to treat them. If they are of concern, call someone or have your partner or member of the ride (if anyone) get help. Just always err on the side of caution before you get back up and ride again.
Broken or torn ligaments do typically swell but some riders may fracture bones or damage ligaments or tendons in a fall which can’t be seen immediately. In some cases, some riders carry on only to find that they have some issue and their riding is exacerbating the damage and prolonging the potential recovery time.
Step 6: Get Back On and Keep Going
Some riders who have fallen and hit their heads may experience a concussion. In some cases, some issues may not appear immediately after the fall and could take hours or even days to develop! Don’t brush everything off. If something feels wrong, take a break from riding.
If it truly was a light fall and you have all your mobility and are not experiencing any pain, likely its ok to keep on cruising. Just remember that falling off a Onewheel is almost an inevitability. Especially if you’re a beginner. By following these six steps, you can minimize your risk of injury and feel more confident on your Onewheel. Don’t let a fall define your ride. Gear up so you can shred the streets, but pad up before you eat concrete!
Recent Posts
The Future of Personal Transportation: Where Does Onewheel Fit In?
Introduction The realm of personal transportation is on the cusp of a major transformation, driven by the advent of groundbreaking technologies and the growing demand for sustainable and efficient...
Two years later we finally have access to Digital Shaping 3.0 which is a tremendous leap forwards in regards to giving you more control of the feel of the ride while providing some great bonuses such...